Undermount Sink Template for an Apron Sink: Fabricator Checklist
Template an apron sink from the real sink, set level. Here is the fabricator checklist, with inside sizes for every NOZLOO model.

In this guide View sections +
For an apron-front sink, the best undermount sink template is the actual sink, set level in the cabinet. Build the support, set the sink, install the drain, and then have the fabricator template the counter around it. A spec drawing or a paper template is a guide for planning. It is not a cutting pattern.
This guide is the handoff list. It covers what to decide, what to bring, and what to check before anyone cuts stone. You will find the real interior numbers for each NOZLOO model, plus three choices that move the cut line.
What is an undermount sink template, and does a farmhouse sink need one?
Yes, but it is made on site, not printed. A template is a full-size pattern of the counter opening. The fabricator uses it to cut the stone in the shop.
For a small steel bowl, the sink box often holds a paper template. A heavy fireclay apron sink is different. It is formed, glazed and fired, so small kiln-related differences between units are normal. A printed sheet cannot know the exact rim of the sink in your kitchen.
That is why fabricators template from the physical sink. There are three common ways to do it:
- Strip template on the set sink. Thin strips of plywood or plastic are hot-glued around the rim and walls. This is the most common method for apron sinks.
- Digital templating. A laser or photo system measures the cabinets and the set sink. The file becomes the shop drawing for the cut.
- Trace and route on site. Some solid-surface installers set the top and route the opening with a router bit, using the sink as a guide. This is less common with stone.
All three need the same thing from you: the real sink, set where it will live, and a clear list of decisions. The rest of this page is that list.
What order should the sink and countertop go in?
Sink first, then template, then counter. For an undermount or flush apron install, the cabinet carries the sink and the counter is cut to fit around it.
- Inspect the sink on arrival. Check every surface and corner within the 48-hour inspection window. Keep the packaging until the sink is set.
- Build the support. A level frame or rated brackets carry the 100–115 lb sink down to the cabinet floor.
- Cut the cabinet face. Mark the apron opening from the real sink, not from the box label.
- Set, center and level the sink. Check level both ways and the gaps at the apron.
- Install the drain. It is far easier before the counter goes on.
- Template. The fabricator measures around the set sink.
- Cut and set the counter. Seal the joint with silicone and let it cure about 24 hours before use.
Our fireclay farmhouse sink installation guide covers each of these steps in detail. Here, we focus on step 6 and the choices that feed it.
One rule matters most. Do not let anyone template before the sink is on its support and level. If the sink moves after templating, the opening will not match.
What should you hand the fabricator?
Give them one page with six items. A missing decision is easier to fix now than after the stone is cut.
| Item | What to give | Why it matters |
|---|---|---|
| Model and the real sink | Model number, bowl layout, drain position | Sinks with the same width can have different bowls and corners |
| Spec drawing | The dimension drawing for your exact model | For planning and checking only, not as the cut line |
| Reveal | Positive, zero or negative, written down | "Make it flush" means different things to different people |
| Faucet and holes | Faucet model, hole count, soap or filter holes | Holes are drilled in the counter, not the sink |
| Apron face | Which face shows on a reversible sink | Flipping later means pulling the sink |
| Sink set and level | Confirm support, position and level | The template is only as good as the set sink |

Print it, fill it in, and tape it inside the sink cabinet on template day. Ask the fabricator to sign off on it before they leave.
What are the inside dimensions of each NOZLOO model?
Use these numbers to plan, then let the fabricator measure the rim of the actual sink. Every NOZLOO sink is 33″ or 30″ wide, 20″ front to back and 10″ tall overall. The bowl inside is what changes from model to model.
| Model | Inside bowl (spec drawing) | Bowl depth | Ledge | Minimum cabinet |
|---|---|---|---|---|
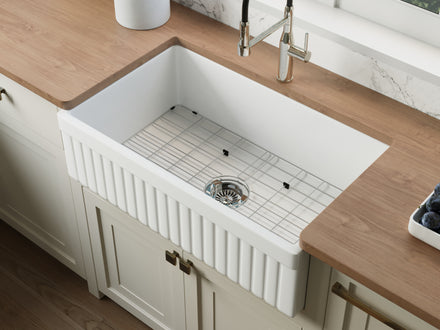
| 33″ Fluted Workstation (NZ-103W3320) | 31″ × 18-1/16″ | 8¾″ | Yes | 36″ |
| 33″ Smooth Workstation (NZ-3320S) | 31″ × 18-1/16″ | 9″ | Yes | 36″ |
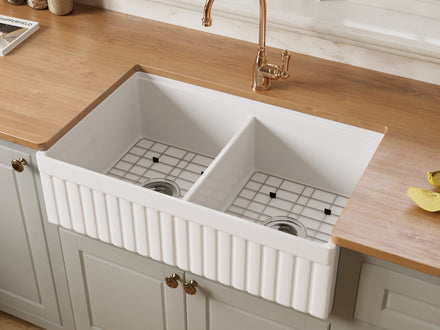
| 33″ Double Bowl Workstation (NZ-103W3320D) | Two bowls, each 15″ × 18-1/16″ | 8¾″ | Yes | 36″ |
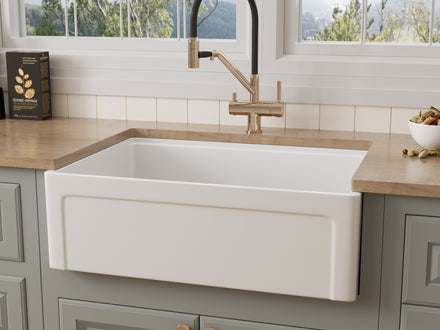
| 33″ Thick-Edge Standard (NZ-3320T) | 30-3/4″ × 17-3/4″ | 8¾″ | No | 36″ |
| 30″ Grooved Workstation (NZ-105W3020) | 27-13/16″ × 18-1/16″ | 8⅞″ | Yes | 33″ |
| 30″ Reversible Workstation (NZ-103W3020) | 27-13/16″ × 18-1/16″ | 8¾″ | Yes | 33″ |
On the workstation models, the front-to-back figure is measured below the ledges. The opening at the top of the rim is a little larger. That is one more reason the cut line comes from the sink, not from this table.


The overall width is not the cutout size. A 33″ sink does not need a 33″ hole. The counter opening follows the inside of the rim on three sides, and the apron fills the front.

How does the three-sided cutout work on an apron sink?
The counter is cut on the back and both sides only. Unlike a standard undermount sink, the front stays open, because the apron is the front. So the stone ends at the apron instead of running across it.
This changes three things on the template:
- The front corners. The cut runs out to the front edge of the counter on each side of the sink. The fabricator will ask how the counter edge meets the apron. Decide this before template day.
- Apron projection. Most apron fronts sit slightly proud of the cabinet face. How far is a cabinet choice, but it sets where the counter's front edge lands. See how far a farmhouse sink should stick out.
- The strip behind the sink. The sink is 20″ front to back. On a typical 25″ deep counter, that leaves a narrow band of stone behind the bowl. Your faucet holes go in that band.

A narrow band behind the sink is the weakest part of the top. Ask the fabricator how they plan to support it and whether the faucet hole spacing works. That is their call, but you should hear the answer before they cut.
Which reveal should you write on the template?
Write one word and one number: the reveal type and how much. Pick it before template day, because it moves the cut line.
- Positive: the counter stops short, so a thin strip of rim shows. It is the most forgiving of small sink variations.
- Zero: the counter edge lines up with the inside of the rim. It looks clean but needs a very precise template.
- Negative: the counter hangs slightly over the rim. It hides the joint but creates a hidden underside to clean.
We compare the three in depth in Farmhouse Sink Reveal: Positive, Zero, or Negative?, so we will not repeat it here. For the template, the key is to state your reveal for both sides and the back. "Flush" alone is not an instruction.
Countertop material matters too. Quartz, granite and butcher block each handle a thin edge and a sink joint differently. Our farmhouse sink countertop compatibility guide covers the material side.
How do you keep workstation ledges usable after the countertop goes on?
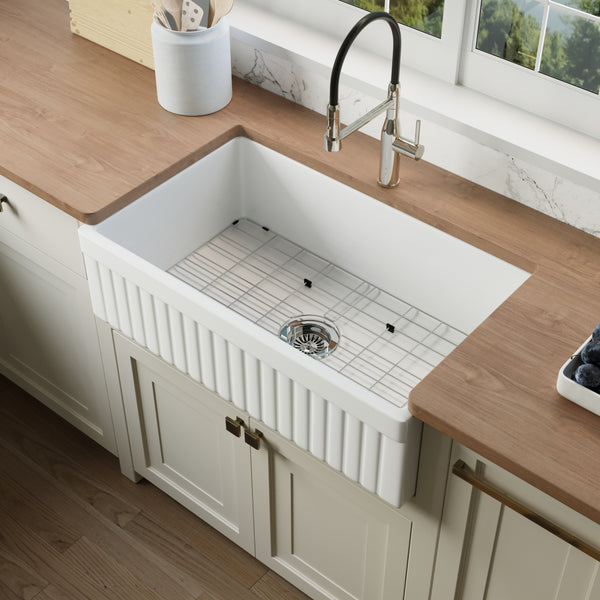
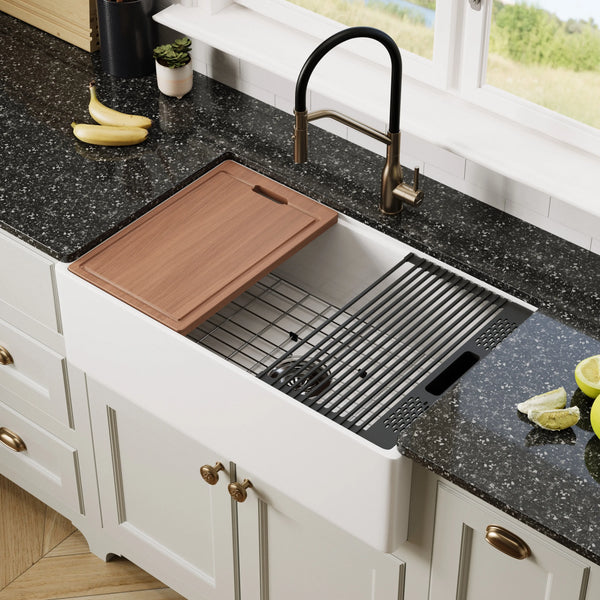
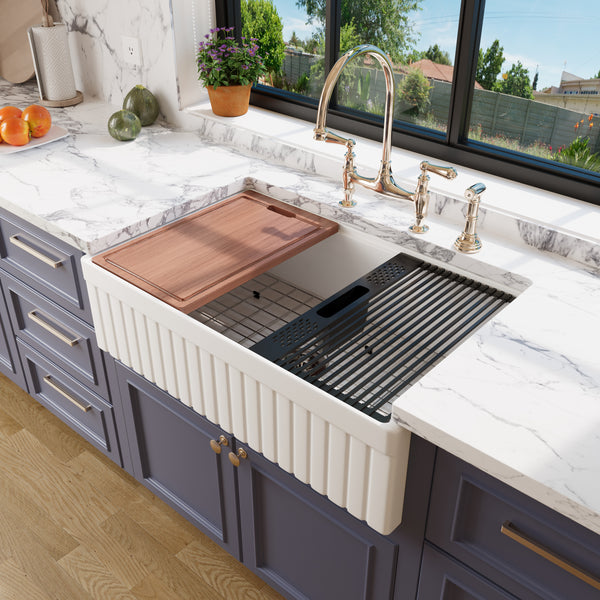
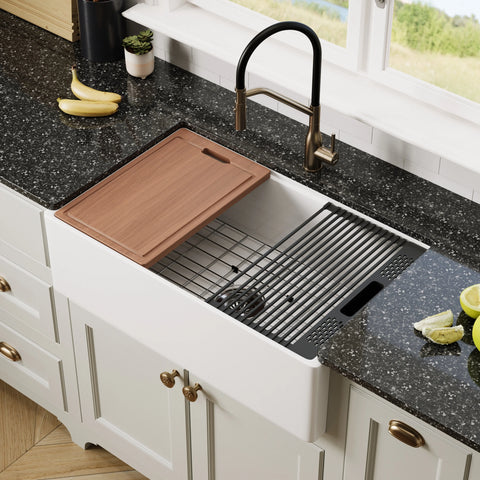
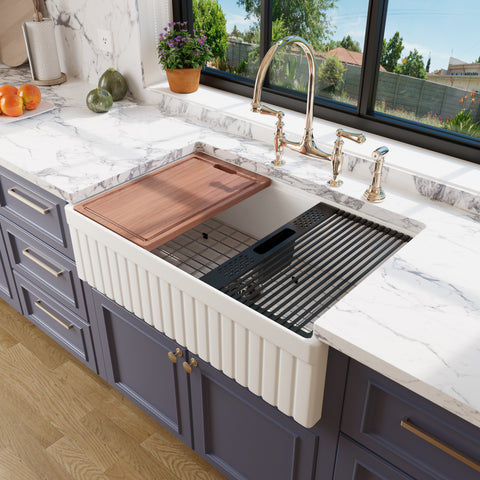
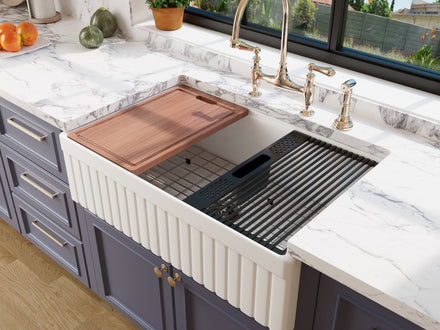
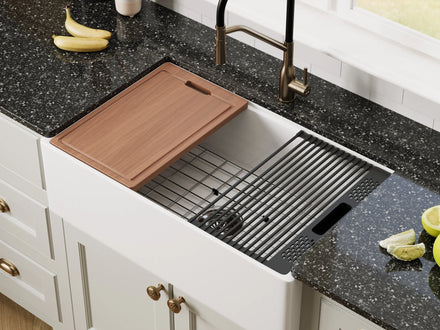
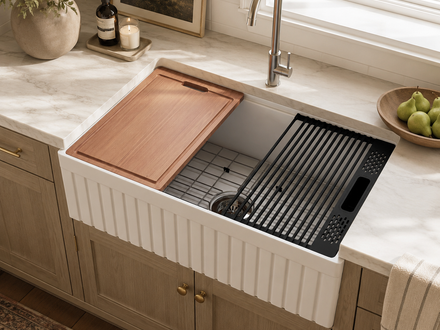
Keep the counter off the ledges, and test the accessories before you approve the template. A workstation sink has a ledge along both long rims. The cutting board, utensil holder and roll-up drying rack sit on it, over the water. The bottom grid sits on the bowl floor.
A deep negative reveal can cover part of that ledge. The board may still sit, but it can catch the stone when you lift it out. A rack that cannot slide end to end loses most of its use.
On template day, do this with the sink set and level:
- Lay the cutting board on the ledge and slide it the full length of the bowl.
- Unroll the drying rack across the bowl at both ends.
- Lift each piece straight up and out. Watch the space above the ledge.
- Ask the fabricator to mark that lift path on the template.
This test takes two minutes and catches problems a drawing can't. The farmhouse sink accessories guide shows how the pieces sit on the ledge. The 33″ Thick-Edge Standard (NZ-3320T) has no ledge, so you can skip this step for that model.
The double bowl adds one more check. Its divider sits 2″ below the rim, so a sheet pan can lie across both bowls. Run the lift test over the divider too.
Why choose the apron face before templating?
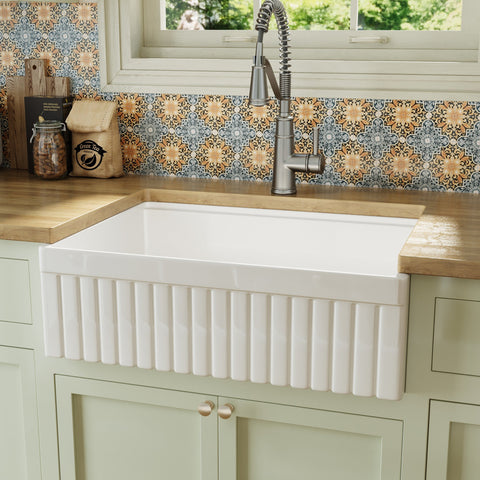
Because the sink is set before the counter is cut, and you cannot flip it later without pulling it out. Several NOZLOO models are reversible. You turn the sink to show one face or the other.
| Model | Face options |
|---|---|
| 33″ Fluted Workstation | Fluted or smooth |
| 33″ Double Bowl Workstation | Fluted or smooth |
| 33″ Thick-Edge Standard | Fluted or smooth |
| 30″ Reversible Workstation | Fluted or smooth |
| 30″ Grooved Workstation | Grooved or smooth |
| 33″ Smooth Workstation | Smooth on both sides, no choice needed |
Our product pages say it plainly. Changing sides later means removing and reinstalling the sink, and it may need countertop work. The template follows the rim in the position you set. Turn the sink, and the small differences in that rim turn with it.
So pick the face with your cabinet samples in hand, then mark it. A strip of painter's tape on the inside of the chosen apron works. Our apron styles guide can help you decide.
On the 30″ Grooved model, the drain moves with the apron face, so confirm both on the same day. The 30″ Grooved Workstation (NZ-105W3020) has an offset drain set toward the back of the bowl and to one side. The 33″ single-bowl models have a center drain.

When you turn a reversible sink around, a drain at the back right ends up at the front left. That moves the tailpiece, the trap and any disposal. It also changes which side of the cabinet stays open for storage.
Here is the order that works:
- Pick the apron face (grooved or smooth).
- Note where the drain lands with that face out.
- Check it against your wall drain and the offset drain layout you want.
- Set the sink, install the drain, then template.
The drain does not change the counter opening. But it is the one choice on this list that also changes the plumbing, so it belongs in the same decision.
Where do the faucet holes go?
In the counter, behind the sink. An apron sink set below the counter has no deck for a faucet. The fabricator drills the holes in the stone, and they are part of the template.
- Choose the faucet first. Bring the model's spec sheet. It lists the hole size and the reach.
- Count every hole. Faucet, side spray, soap pump, filter tap, air gap. Add them now; drilling stone later is harder.
- Check reach. The spout should land near the drain, not the back wall of the bowl.
- Wall-mount faucet? Then no holes in the counter. Note that on the template too.
Our guide to faucets for farmhouse sinks covers reach and height. For landing space on each side of the sink, the NKBA kitchen planning guidelines are the common reference. They recommend a landing area of at least 24″ on one side of the sink and at least 18″ on the other.
What should you check before the fabricator cuts?
Check the template against the set sink, then sign it. Once stone is cut and polished, changing the opening is costly and sometimes not possible.
- The sink has not moved since templating. Check level again.
- The reveal type and size are written for both sides and the back.
- The accessory lift path is marked on workstation models.
- The apron face is marked, and the drain position matches it.
- Every faucet and accessory hole is on the template, with sizes.
- The front corners and the apron-to-counter edge are agreed.
Let the shop make the cut. Cutting quartz and other engineered stone releases fine silica dust. OSHA's silica guidance for construction explains why pros use water and dust control. That is not a job for a finished kitchen.
If anything on the spec drawing looks unclear, ask us before template day. Our support team replies within a few hours.
Frequently asked questions
Does a farmhouse sink come with a countertop template?
Usually not as a cutting pattern. A fireclay apron sink is fired in a kiln, so small differences between units are normal. A printed sheet cannot match your exact rim. Plan with the model's spec drawing, then have the fabricator template from the real sink once it is set and level in the cabinet. That gives an opening that fits the sink you own.
Should the sink be installed before the countertop is templated?
Yes, for an undermount or flush apron sink. Build the support, set the sink, level it both ways and install the drain. Then the fabricator templates around it. If the sink moves after templating, the opening will not line up. This is the order for an undermount or flush install.
Can I use the spec sheet drawing as the cutout template?
No. The drawing shows nominal sizes for planning, such as 31″ × 18-1/16″ inside on the 33″ workstation models. On ledged models, that front-to-back figure is taken below the ledges, so the rim opening is larger. Use the drawing to check fit and plan the cabinet. Let the fabricator take the cut line from the physical sink.
Where do the faucet holes go on an apron sink?
In the countertop, behind the sink. An undermount apron sink has no deck, so the fabricator drills the faucet, sprayer and soap holes in the stone. Choose your faucet before template day and bring its spec sheet. If you pick a wall-mount faucet, note on the template that the counter needs no holes.
Ready to plan your own? Compare every model, its spec drawing and its apron options in our fireclay farmhouse sink collection. Then bring this checklist to template day.