Window Over a Kitchen Sink: Placement, Height & Faucet Clearance
Plan a window over a kitchen sink by checking sill height, faucet and sash clearance, centering, splash-resistant joints, daylight, and exhaust coordination.

In this guide View sections +
Reviewed: August 22, 2026 · Placement, moisture, and ventilation claims checked against current U.S. search questions and primary building guidance.
Quick answer: A window over a kitchen sink is optional, and the sink does not have to be perfectly centered beneath it. The arrangement works when the sink cabinet, faucet, window sill, sash, screen, and countertop edge are planned as one section. There is no universal sill height: use the actual sink, faucet specification, window operation, trim, and finished-counter elevation to prove clearance before ordering or cutting anything.
A sink window can add daylight and a view, yet create faucet collisions or wet joints when planned by appearance alone. Ask whether every part can be installed, operated, cleaned, and kept dry.
Is a Window Over the Kitchen Sink a Good Idea?
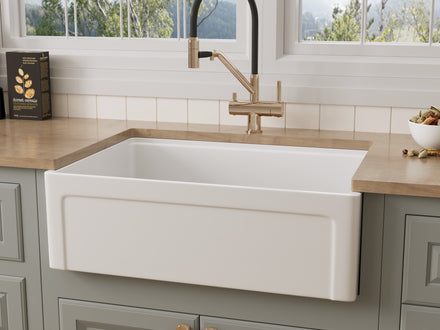
Often, yes. A window can open a wall that is difficult to use for reachable upper storage. Daylight helps with cleaning, and an operable unit may provide supplemental air when weather permits.
It is a poor fit when the sill is too low, the sash conflicts with the faucet, or centering damages more important cabinet relationships. Keep it only when the whole assembly works.
Plan Height From the Finished Counter Up
Do not set the window from a generic floor dimension. First establish the finished cabinet and countertop elevation. Then draw the sink rim or apron, rear counter strip, faucet, backsplash or sill return, interior trim, operating hardware, and moving sash in one side elevation.
| Clearance to verify | Use this measurement | Problem it prevents |
|---|---|---|
| Faucet footprint | Base diameter plus installation and service space | Base touching trim or hanging over the sink cutout |
| Faucet height | Finished counter to highest fixed point | Sash, latch, or shade striking the faucet |
| Handle sweep | Full hot-to-cold movement, including hand clearance | A handle that cannot reach its complete range |
| Window operation | Entire sash, crank, latch, and screen-removal path | A window that technically fits but cannot be used |
| Wet-zone joint | Counter, sill, trim, and sealant geometry | Standing water or an exposed absorbent edge |
A faucet's catalog height alone is not enough. Check its base, rear setback, side-handle travel, pull-down head, and the space needed to tighten or replace it. The window supplier should confirm the actual sash and hardware envelope. Our farmhouse sink faucet guide explains reach and splash control; it does not replace this project-specific collision check.

Does the Sink Need to Be Centered Under the Window?
No. Centering is a visual choice, not a universal installation rule. In a new symmetrical wall, aligning the sink, faucet, and window can look calm. In a remodel, forcing that axis can create a narrow filler, an unusable cabinet, poor landing space, or unnecessary plumbing work.
| Project condition | Alignment priority | Practical approach |
|---|---|---|
| New, symmetrical wall | Window, sink bowl, and faucet axis | Center them after cabinet and clearance checks pass |
| Existing plumbing or cabinets | Usable sink base and adjacent storage | Accept an intentional offset rather than a compromised cabinet |
| Wide or multi-panel window | Strongest visible window line | Test alignment to the full opening and its mullions |
| Asymmetrical wall | Counter landing space and comfortable faucet use | Use trim and balanced objects to make the offset look deliberate |
Decide what is being centered: the cabinet, outside sink width, usable bowl, drain, faucet, glass, or rough opening. They are not always the same centerline. Mark each on the elevation before choosing the final visual axis.
Protect the Sill, Trim, and Counter Joint
The area behind a sink is a repeated-splash zone. Favor a cleanable sill or return with no water-trapping groove, protect every exposed cut edge, and use compatible sealant where the countertop, sill, trim, and wall finish meet. A low, flush sill can work, but its material and joint detail must tolerate routine wetting.
Interior splash sealing is only one layer. The U.S. Department of Energy's window sill-flashing guidance explains that the window opening itself must direct incidental water outward. Do not treat a visible interior caulk bead as a substitute for the window manufacturer's flashing and drainage installation.
Watch condensation as well as faucet splash. The EPA moisture guide advises drying wet surfaces quickly and addressing the moisture source when condensation collects on windows. Inspect the bottom corners and counter joint regularly; prolonged dampness is a detail failure, not normal patina.

Keep the Window, Faucet, and Light From Competing
Treat lighting here as one more window-interface check. Whatever task fixture the lighting plan uses, confirm that its shade, body, and beam do not collide with the sash, screen, faucet, or normal sightline, and test reflections in the glass after dark. Fixture type, output, location classification, controls, and electrical installation should be approved separately for the actual room; this guide remains focused on the window assembly.
Daylight and an Open Window Do Not Replace Exhaust Planning
A sink window can improve daylight and provide optional natural airflow, but it should not be counted as the kitchen's cooking-exhaust system. U.S. Department of Energy kitchen-exhaust guidance explains that properly installed exhaust removes cooking moisture, odors, and fumes and sends them outdoors. Have the mechanical design checked against locally adopted requirements.
Coordinate range-hood discharge, outdoor-air intakes, and operable windows before framing. Keep this article focused on the sink-window interface; use our farmhouse sink plumbing rough-in guide for the drain, trap, disposal, and shutoff planning below the sink.
Apply the Plan to a 33-Inch Farmhouse Sink
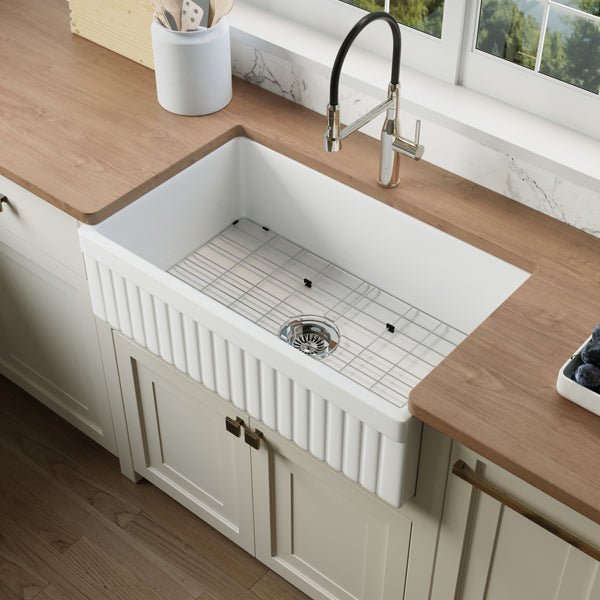
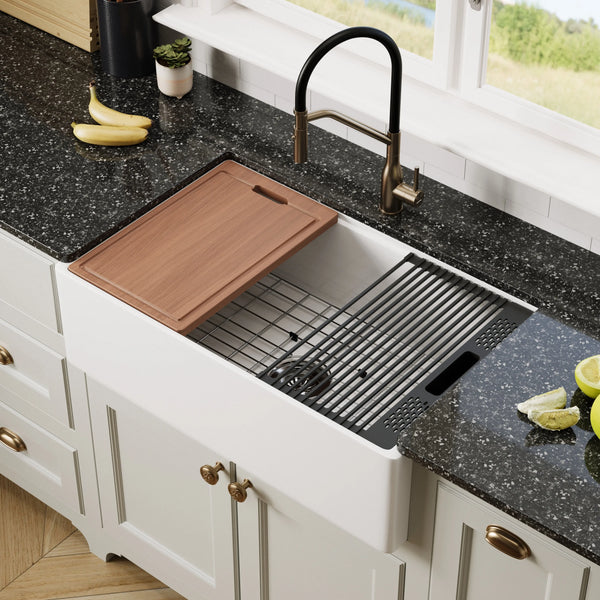
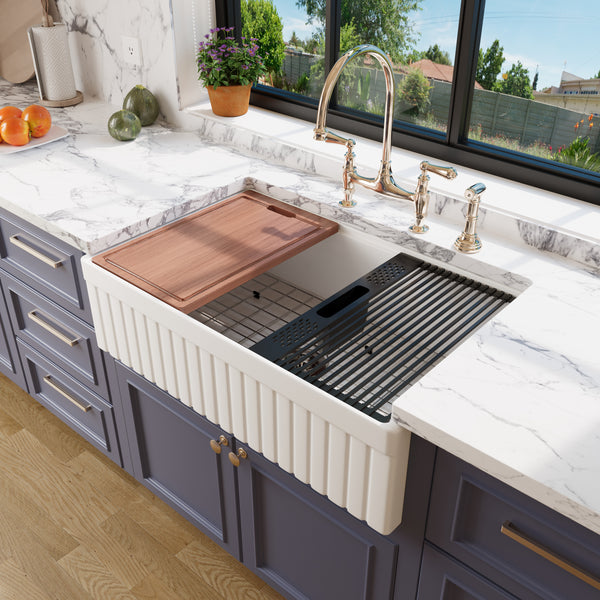
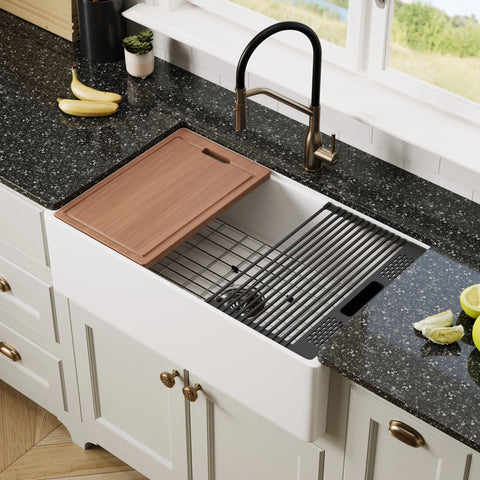
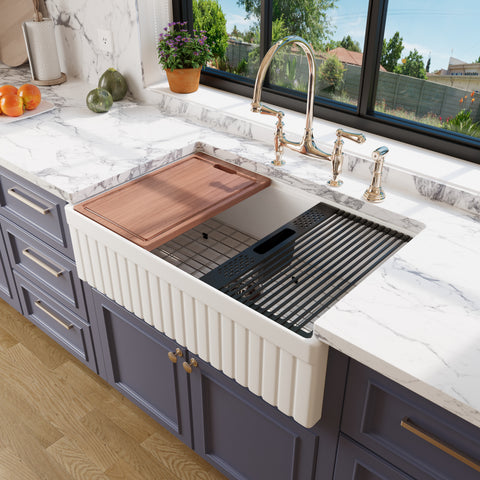
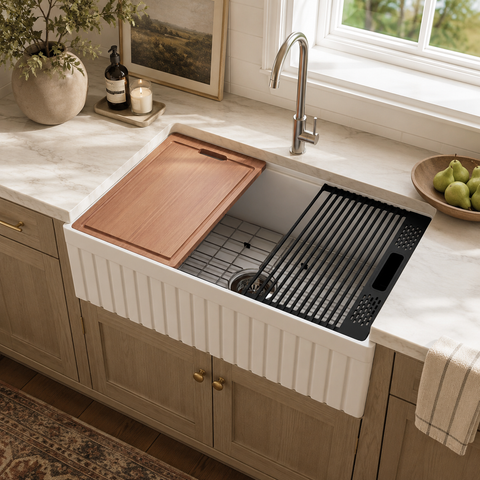
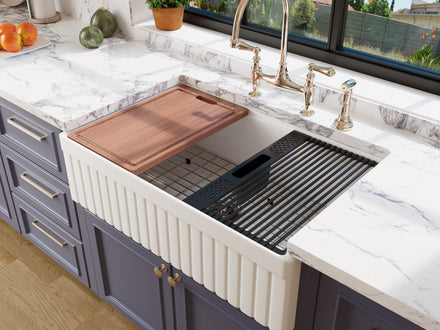
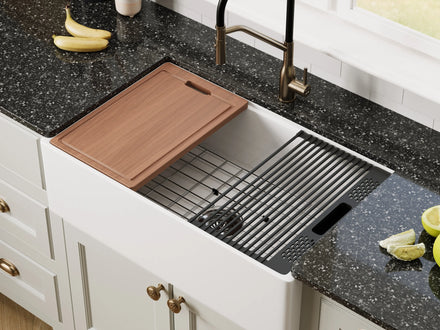
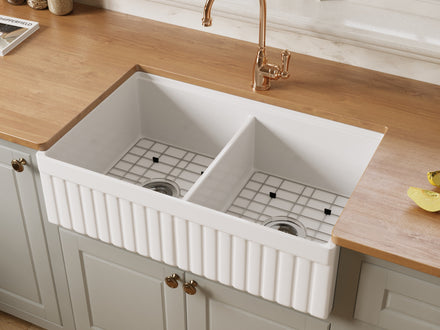
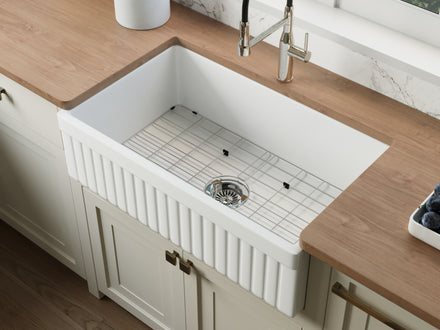
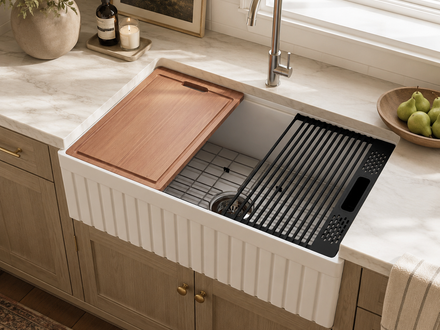
A large apron-front sink makes the section more demanding because it occupies cabinet height and front-to-back room. The NOZLOO NZ-103W3320 measures 33″ × 20″ × 10″ overall. Its interior is 31″ × 17¾″ with a 9″ bowl depth measured vertically at the center drain—not at the side wall. It weighs approximately 105 lb and requires a 36″ minimum base cabinet with independent support.
The 20″ front-to-back dimension must coexist with the faucet base, rear counter strip, sill or backsplash return, and window trim. Use the standard kitchen sink size guide to keep nominal width, overall height, bowl depth, and cabinet fit separate. For final fabrication, follow the delivered sink and the sequence in our farmhouse sink countertop compatibility guide.


Seven Checks Before You Approve the Elevation
- Confirm the finished cabinet and countertop elevation.
- Choose the exact sink and verify its delivered dimensions and support.
- Place the actual faucet footprint, height, reach, and handle sweep.
- Draw the sill, trim, crank, latch, screen, shade, and moving sash.
- Mock up operation from the user's standing position over the counter.
- Approve the interior wet-zone detail and exterior window flashing plan.
- Freeze sink, faucet, window, counter, and cabinet centerlines before fabrication.
If the farmhouse sink is not yet selected, measure with our farmhouse sink measuring guide. The final drawing should support the delivered unit—not ask a hand-finished fireclay sink to match an assumed opening.
How We Checked This Guide
NOZLOO reviewed the live U.S. Google results and People Also Ask questions for “window over kitchen sink” and sink-window centering, then checked technical claims against DOE and EPA source material. Final approval still belongs to the project designer, window supplier, cabinetmaker, countertop fabricator, electrician, plumber, and locally applicable code official.
Frequently Asked Questions
Do you need a window over a kitchen sink?
No. It can add daylight, a view, and optional fresh air, but a sink can work well on another wall when lighting, ventilation, storage, and workflow are properly planned.
Does a kitchen sink have to be centered under the window?
No. Centering is an aesthetic preference. Prioritize a usable sink cabinet, adequate landing space, complete faucet operation, and a deliberate-looking alignment.
What can I do if my kitchen sink is not aligned with the window?
Choose one clear visual reference—such as the full opening, a center mullion, or the cabinet run—and make the offset intentional. Consistent trim, lighting, and balanced counter space can reduce visual tension.
What type of window is best over a kitchen sink?
There is no universal best type. Choose a model the user can comfortably operate across the counter and whose sash, crank, latch, screen, and cleaning path clear the selected faucet.
What is a window over a kitchen sink called?
It has no special technical name; it is usually described as a kitchen sink window or a window above the sink. Its formal product name comes from the selected window operation and construction.
Why are windows commonly placed above kitchen sinks?
The location adds light and a view where upper cabinets would be difficult to reach. It may also offer supplemental natural airflow, but it does not replace required lighting or mechanical exhaust.
Bottom Line
A window over the sink succeeds when its elevation is proven, not assumed. Center it only when function allows, verify every faucet and sash movement, detail both splash protection and window drainage, and coordinate ventilation separately. Use the actual sink, faucet, window, and finished materials for final approval.