How to Fix a Cracked Porcelain Sink (and When to Replace It)
Find out which crack you have with four quick tests, fix crazing and hairline cracks step by step, and know when a leak or edge crack means replacing the sink.

In this guide View sections +
Here is how to fix a cracked porcelain sink in short: you can do it yourself when the crack is a fine line that stays in the glaze and the underside stays dry. Clean it, fill it with a two-part porcelain repair compound in thin layers, let it cure, and sand it flush. If the crack leaks, keeps growing, or runs through the drain ring, apron, or rim, a patch will not hold for long. Then the honest answer is a pro repair or a new sink.
This guide shows how to tell which crack you have in about 30 minutes, how to fix each type, and when to stop and replace. It works for solid ceramic sinks, such as fireclay and vitreous china, and for enameled cast iron or steel.
What kind of "porcelain" sink do you have?
Find out what is under the glaze before you buy a kit. "Porcelain sink" is used for two very different things, and the fix is not the same.
- Porcelain enamel over metal. A thin glass coat is fused to cast iron or steel. A magnet sticks to the outside of the basin. A crack or chip can expose dark metal, and bare iron can rust.
- Solid ceramic. Fireclay and vitreous china are clay all the way through, with glaze on top. A magnet will not stick. A crack here is in the body itself, so there is no metal to rust, but a deep crack can weaken the wall.
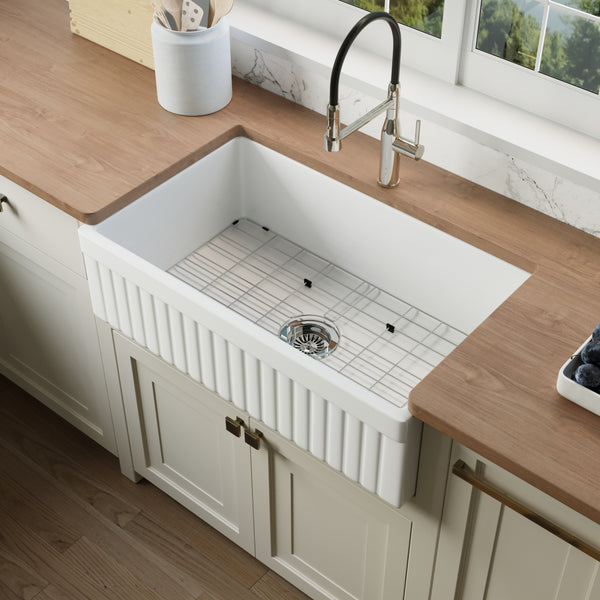
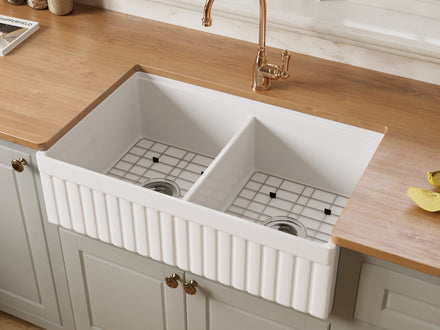
A NOZLOO farmhouse sink is solid fireclay. Each one has a 1-inch (22–25 mm) clay wall, and the glaze and body are fired together at about 2,200°F into one dense piece. If you are not sure how the two materials differ, see fireclay vs porcelain sink.
Three kinds of cracks
The depth of the crack decides almost everything. A crack that stays in the glaze is a cosmetic job. A crack that runs into or through the body is a strength problem.

| Type | What it looks like | How deep it goes | Usual fix |
|---|---|---|---|
| Crazing | A web of very fine lines, often in one zone | Glaze only | Clean gently; refinish only if it bothers you |
| Hairline crack | One thin line, often from a corner or the drain | Glaze and maybe the top of the body | DIY fill and seal, then watch it |
| Through-body crack | A line you can also see or feel underneath | All the way through the wall | Pro repair as a stopgap, or replace |
Chips are a separate job. A chip is missing glaze, not a line, and it is filled more like a small dent. The chip steps come right after the hairline steps.
How to tell how deep the crack goes
Run these four checks before you buy anything. Together they take about 30 minutes, and they tell you which column of the table above you are in.
- Fingernail test. Drag a fingernail across the line. If it glides over, the line is likely in the glaze. If it catches, the crack has an open edge.
- Marker test. Rub a washable marker over the line, then wipe the surface with a damp cloth. Ink left in a fine web points to crazing. Ink left in one clear line marks a true crack and shows exactly where it ends.
- Underside check. Shine a flashlight on the bottom of the sink under the crack. Look for a matching line, a dark stain, or a white mineral trail.
- Paper towel leak test. Dry the underside. Tape a dry paper towel right under the crack. Plug the drain, fill the sink a few inches deep, and wait 30 minutes. A damp towel means water is getting through.
Last, mark both ends of the crack with a pencil and write the date beside it. Take a photo with a ruler in frame. If the line passes your marks in the next few weeks, the crack is still moving.
Before you patch: photos and warranty
Take photos and contact the maker before you touch the crack. Many warranties, including NOZLOO's, exclude damage from alteration or modification, so a DIY patch can make a claim harder to review.
Here is what to save:
- A photo of the whole sink, plus close-ups of the crack dry and with water on it.
- A photo of the underside and of your paper towel test.
- Your order number, the model, and when you first saw the crack.
For a NOZLOO sink, the sink body has a Limited Lifetime Warranty for the original purchaser in normal residential use. It covers cracking from a manufacturing or material defect. It does not cover damage from impact, dropped cookware, improper installation, or thermal shock. Workstation accessories have a separate 1-year accessory warranty.
If a sink arrives damaged, report it within 48 hours of delivery and before you install it. You can send your photos through the contact page, and the team replies within a few hours. The full terms are on the warranty page.
How to fix crazing
Crazing usually needs cleaning, not filling. The lines sit in the glaze, so they rarely leak. They can hold tea, coffee, or grime, which makes them easier to see.
- Clean with a soft sponge and mild dish soap. A paste of baking soda and water lifts most stains from the lines.
- Skip scouring powder and steel wool. They dull the glaze around the lines and make the area look worse.
- If the web covers a large area and bothers you, a sink and tub refinisher can recoat the zone. That is a cosmetic choice, not a repair.
Our guide on how to clean a fireclay sink lists safe products for a glazed basin.
How to fix a hairline crack, step by step
A hairline crack that is dry underneath is the one most people can fix in an afternoon. The goal is to seal the line so water stays out, and to hide it as well as you can.
What you need: a porcelain sink repair kit (two-part porcelain or epoxy, made for sinks and tubs), in a white that matches your glaze. You also need rubbing alcohol, 400 to 600 grit wet sandpaper, painter's tape, a small plastic spreader, gloves, and a fan or open window.
- Dry the sink fully. Leave it unused for a day if you can. Water trapped in the crack keeps the filler from bonding.
- Clean the line. Wipe it with rubbing alcohol on a lint-free cloth. This removes soap film and grease.
- Tape it off. Run painter's tape along both sides of the crack, about 1/8 inch away. This keeps the filler off the good glaze.
- Scuff only the crack. Lightly sand right along the line with the fine paper. Do not sand the glaze around it.
- Mix a small batch. Mix only what you can use in a few minutes. Follow the kit's ratio exactly.
- Fill in thin layers. Press the filler into the line with the spreader. Let each layer set as the label says before you add the next one.
- Cure, then sand flush. Most kits want a full day or more before water touches the repair. Wet-sand the spot level with the glaze, then pull the tape.
- On metal, deal with rust first. On enameled cast iron or steel, if you see dark metal, remove any rust with fine sandpaper, wipe it with alcohol, and let it dry fully before you fill it. Use a kit labeled for enamel over metal.
- Touch up if needed. A thin coat of matching glaze paint can blend the line. Let it cure fully before you use the sink.
Epoxy and touch-up paint give off fumes as they cure. The EPA notes that volatile organic compounds can build up indoors, so keep air moving and wear gloves.
Set your expectations. A filled crack is sealed and much less visible, but it is not as strong as it was. Recheck your pencil marks every week for a month. If the crack passes them, move to the next section.
How to fix chips in a porcelain sink
You can fix chips with the same kind of kit you use for a hairline crack. The difference is that a chip is a small hole, so you build it up instead of filling a line.
- Dry the spot and wipe it with rubbing alcohol.
- Mix a small amount of filler and press it into the chip with the spreader.
- Build it up in thin layers, letting each one set, until it sits just above the glaze.
- Let it cure as the label says, then wet-sand it flush with fine paper.
- Finish with a thin coat of matching touch-up glaze if the kit includes one.
On enameled cast iron or steel, treat any dark metal for rust first, as in step 8 above. If a chip is larger than a coin or sits on the apron edge, a refinisher will give a cleaner result.
Through-body cracks and leaks
A crack that goes all the way through needs more than a kit. A patch on top seals the surface, but the wall underneath stays cracked, so normal load or the next bump can open it again and water can seep through from below.
Your options, from quick to lasting:
- Stop the water now. Stop filling the sink until it is repaired, and put a tray under the crack. If water drips while the sink is empty, the leak is at a supply line or the faucet, so close the shutoff valves under the sink. Even a slow drip can soak a cabinet floor. The EPA's guide to mold and moisture advises drying wet materials within 24 to 48 hours.
- Pro repair as a stopgap. A sink refinisher can grind out the crack, fill it from both sides, and refinish the top. This can buy time, but it does not restore the original strength.
- Replace the sink. If the crack leaks, crosses the drain opening, or runs along the apron or rim, replacement is the lasting answer.
If the leak is at the drain and not in the sink wall, the crack may not be the problem. A failed drain seal can look like a crack leak. Our guide to installing a kitchen sink drain shows how to reseal it and test it.
Where cracks start and what you can repair
Where a crack sits matters as much as how deep it is. Some spots carry load; others only see water.

- Bowl floor and side walls. These are the most common spots for crazing and short hairlines. They are usually fine to repair.
- Inside corners. Stress collects where walls meet. A short hairline here can be filled, but watch it closely.
- Drain opening. Cracks here often come from an over-tightened drain or a sink that hangs on its drain. A seal sits on this ring, so a crack through it tends to leak. Call a pro.
- Apron front and rim. The rim carries the countertop edge, and the apron's top edge takes the weight of anyone who leans in. A crack here is structural, so plan to replace.
Repair or replace?
Repair when every row lands in the left column. If the crack leaks, sits on the drain ring, apron, or rim, or has a loose piece, that one sign is enough to call a pro or replace. If the only sign is length or a nail catch, fill it and watch your marks.

| Check | Points to repair | Points to pro or replace |
|---|---|---|
| Fingernail test | Glides over | Catches |
| Paper towel test | Dry after 30 minutes | Damp |
| Length and growth | Short, and stays inside your marks | Longer than a few inches, or growing |
| Location | Bowl floor or wall | Drain ring, apron, or rim |
| Edges | Smooth | Sharp, raised, or a piece moves |
Cost and time matter too. A kit repair costs little and takes a weekend, mostly waiting for it to cure. A new farmhouse sink means removal, plumbing, and often a new support frame. Our guide on how to replace a farmhouse sink without replacing the countertop walks through that job.
Size a new sink to your cabinet
Match the new sink to the base cabinet, not to the old sink's label. A farmhouse sink sits in a cut-down front, so the cabinet width sets your choices.

- 33-inch base cabinet: a 30-inch sink. NOZLOO's 30-inch models measure 30 × 20 × 10 inches outside and need a 33-inch minimum cabinet.
- 36-inch base cabinet: a 33-inch sink. The 33-inch models measure 33 × 20 × 10 inches outside and need a 36-inch minimum cabinet.
- Bowl depth: NOZLOO bowls are 8¾ to 9 inches deep, depending on the model.
- Weight: these sinks weigh 100 to 115 pounds, so the cabinet needs a support frame under the sink, not just the countertop.
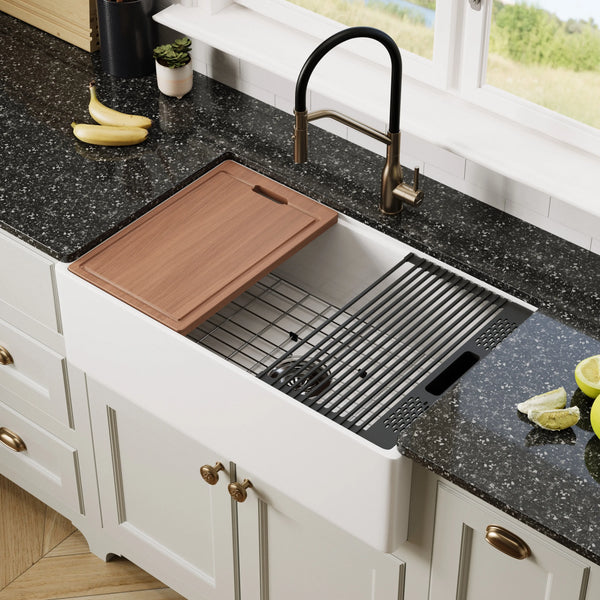
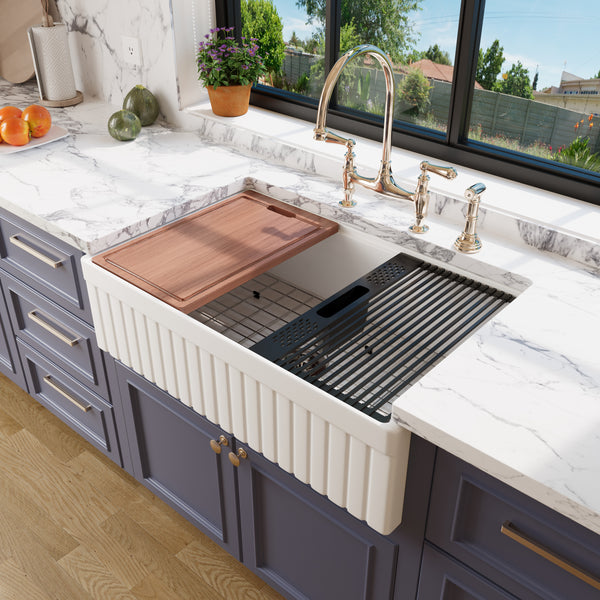
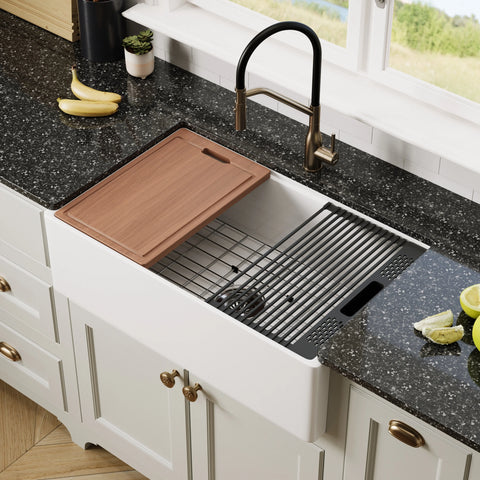
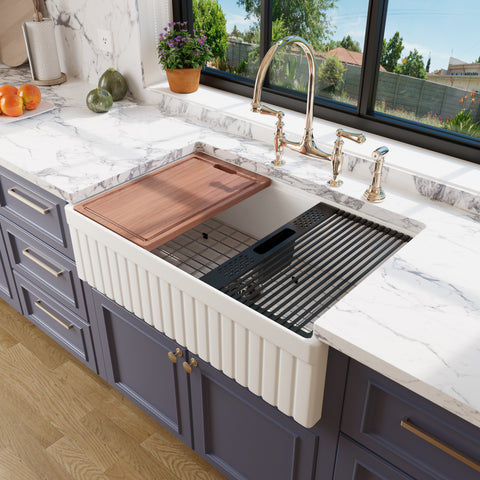
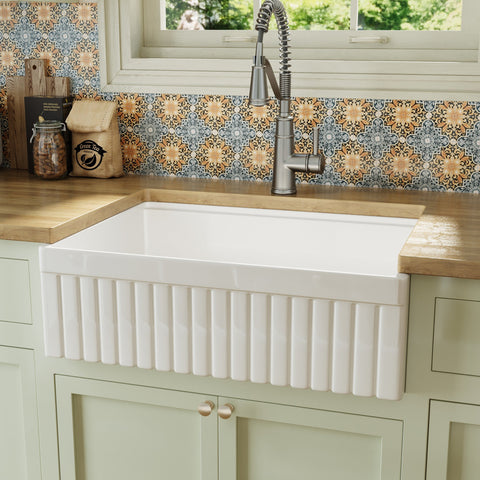
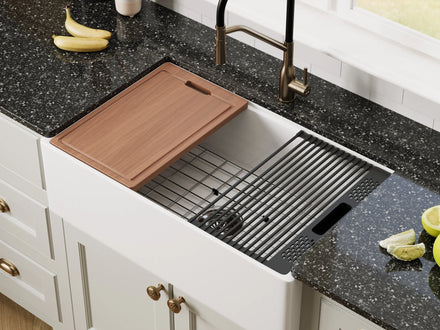
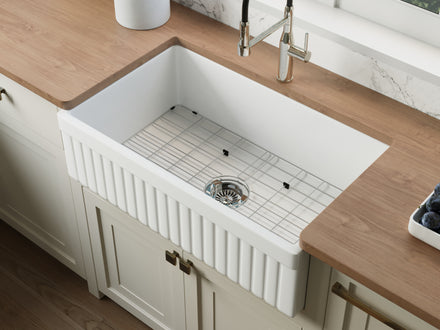
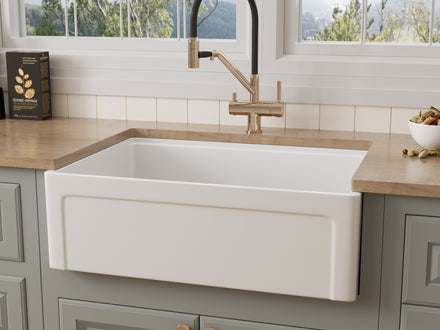
The fireclay farmhouse sink cabinet size guide covers how to measure before you order. A 30-inch grooved model in a 33-inch cabinet is shown below, followed by a 33-inch smooth-apron model for 36-inch cabinets.


How to keep a sink from cracking again
Most cracks start with load, impact, or sudden heat. All three are easy to reduce.
- Support the full weight. A heavy sink should rest on a level frame. It should never hang from the countertop or the drain.
- Snug the drain, do not crank it. Follow the drain maker's steps. Do not use the drain nut to pull a sink into line.
- Avoid sudden heat. Do not pour boiling water into a cold, empty sink. Run the cold tap while you drain a pot of pasta.
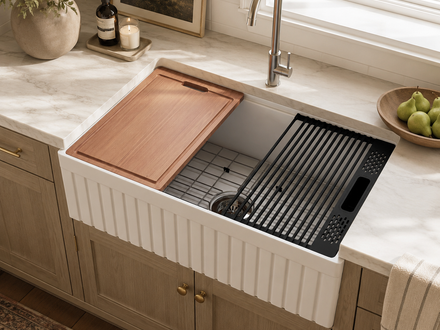
- Use a bottom grid. A grid keeps cast iron pans and heavy pots off the glaze. Fireclay resists chipping in normal use, but a dropped pan can still crack any ceramic sink.
- Clean gently. Soft sponges and mild soap protect the glaze, so small lines are less likely to hold stains.
For more on what goes wrong with fireclay and how to avoid it, read fireclay sink problems and how to prevent them.
Frequently asked questions
Can a hairline crack in a porcelain sink be repaired?
Yes, if it stays in the glaze and the underside is dry. Clean it, dry it fully, and fill it with a two-part porcelain or epoxy repair compound in thin layers. The fix seals the line and hides most of it. It does not make the sink stronger, so mark the ends and check them for a few weeks.
Will a cracked porcelain sink leak?
Only if the crack goes all the way through the wall or the drain seal. Many hairline cracks never leak. To check, dry the underside, put a paper towel under the crack, fill the sink a few inches deep, and wait 30 minutes. A damp towel right under the crack, away from the drain, means the crack is through and needs a pro or a new sink. If the wet spot is at the drain, check the drain seal first.
Is it safe to keep using a cracked sink?
A dry, glaze-only crack is usually fine for normal use while you watch it. Stop using the sink if the edge is sharp, a piece moves, or water shows up underneath. Also stop if the crack is on the apron or rim, since those edges carry weight from the counter and from people leaning on them.
Why did my porcelain sink crack?
The common causes are impact from a heavy pot, poor support under a heavy sink, an over-tightened drain, and sudden heat, such as boiling water poured into a cold basin. Fine crazing can also come from the glaze itself. Photos of the full sink and the crack help the maker judge which one it was.
Can you use super glue on a cracked sink?
Super glue is not a good choice. It is brittle, it does not fill a gap, and it yellows over time in a wet sink. A two-part epoxy or a porcelain repair compound made for sinks and tubs bonds better, fills the line, and can be sanded flush before you touch it up.
If your crack points to a new sink, browse the fireclay farmhouse sink collection to compare 30-inch and 33-inch models by cabinet size, apron style, and bowl layout.