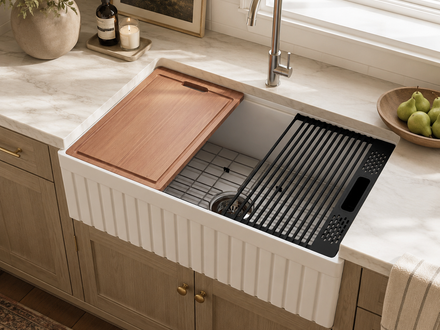
How to Recaulk a Kitchen Sink Without Damaging It

Reviewed: August 23, 2026 · This guide covers an existing sink-to-counter seal. Structural movement, damaged stone, hidden moisture, and plumbing leaks need repair before recaulking.
Quick answer: Remove the entire failed bead, identify and fix the moisture source, clean and fully dry both bonding surfaces, then apply one continuous bead of a kitchen-and-bath sealant approved for both the sink and countertop. Do not caulk over old caulk or mold. On a heavy farmhouse sink, a reopening seam may indicate movement—silicone seals the joint but does not support the basin.
A cracked bead is easy to see; the reason it cracked is the important part. Before reaching for a caulk gun, separate a normal maintenance job from a plumbing leak, wet countertop, or moving sink.

First, Confirm Which Joint Is Failing
| What you see | Likely location | Next move |
|---|---|---|
| A split or missing bead where sink meets counter | Sink-to-counter seal | Check stability and moisture, then recaulk if both surfaces are sound |
| Water appears only while the basin drains | Drain flange, tailpiece, or trap | Dry the cabinet and diagnose the drain; perimeter caulk will not fix it |
| The gap changes when the sink is gently loaded | Support or mounting problem | Stop and have the support inspected before sealing |
| Dark growth returns or the substrate stays soft | Continuing moisture or porous-material damage | Fix the water source and assess the counter or cabinet first |
| The split is at the wall or backsplash | Counter-to-wall change of plane | Treat it as a counter-to-wall joint, not the sink-perimeter seam covered here |
The U.S. EPA advises fixing the moisture problem, cleaning hard surfaces, and drying them completely; it specifically says not to caulk over mold. Review its basic mold cleanup steps if the old joint is dark, wet, or repeatedly failing.

Choose a Sealant for Both Surfaces
Read the sink, countertop, and sealant instructions together. A common choice for a compatible kitchen sink perimeter is a mold-resistant 100% silicone labeled for kitchen-and-bath use, but the label must list—or otherwise approve—both substrates. Natural stone, engineered stone, solid surface, laminate, wood, metal, and glazed fireclay do not all accept the same cleaners or primers.
Check color and paintability before opening the tube. Many 100% silicones are not paintable. Also check application temperature, joint-size limits, skin time, and full cure time. The current DAP kitchen-and-bath silicone product guidance is a useful example: it requires a clean, dry, structurally sound surface free of old caulk, but the label on the product you actually use controls your job.
Tools and Preparation Checklist
- Compatible kitchen-and-bath sealant with an unexpired label
- Caulk gun if using a cartridge
- Plastic caulk-removal tool and plastic scraper
- Clean, lint-free cloths and a soft non-abrasive pad
- Cleaner approved for both surfaces; no untested solvent
- Painter's tape and a small caulk-finishing tool
- Gloves, ventilation, and eye protection required by the product label
A metal blade can scratch glaze, laminate, solid surface, or a finished stone edge. If a stubborn residue needs a chemical remover, test it in an inconspicuous area and confirm compatibility first. Do not mix cleaners.
How to Recaulk a Kitchen Sink Step by Step
- Keep the joint dry and unload it. Remove accessories and standing water. Do not lean on the sink. If the gap moves under gentle normal loading, stop and inspect the support.
- Cut and lift the old bead. Use a plastic removal tool along both edges. Pull out the full strip; isolated patches leave weak interfaces for the new bead.
- Remove residue without damaging the finish. Scrape gently, then use only a cleaner approved for both the sink and countertop. Protect an exposed wood or laminate edge from soaking.
- Clean and dry completely. Residue, soap film, oil, mold, and moisture reduce adhesion. Give a damp joint time to dry; do not trap moisture behind new silicone.
- Mask the edges. Place tape on the sink and counter to define a bead wide enough to bridge the joint without covering an excessive area.
- Apply one continuous bead. Cut the nozzle to the needed opening and move steadily. Push material into the joint rather than laying a decorative cord only on top.
- Tool once and remove the tape. Smooth the bead within the label's working time, keeping a continuous concave profile. Pull tape before the surface skins.
- Protect the cure. Keep water, cleaners, accessories, and movement away for the full time specified on the sealant label. “Skin over” is not the same as fully cured.

Mounting Style Changes Where You Look
| Sink type | Typical visible seal | Important caution |
|---|---|---|
| Undermount | Joint beneath the counter edge around the bowl | Clips, rails, or support carry the load—not the sealant |
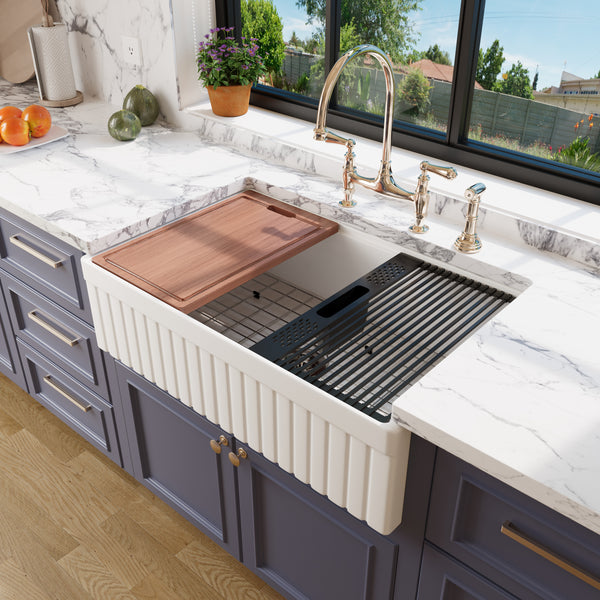
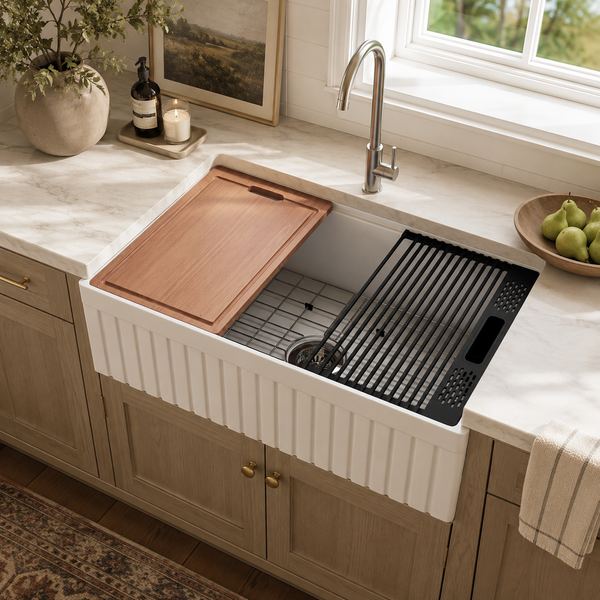
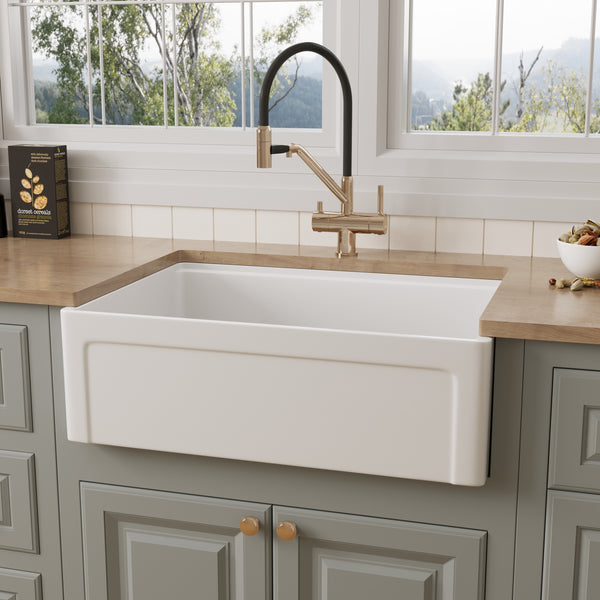
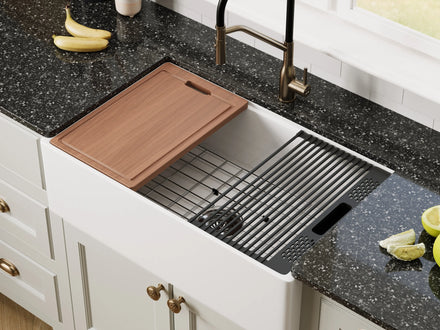
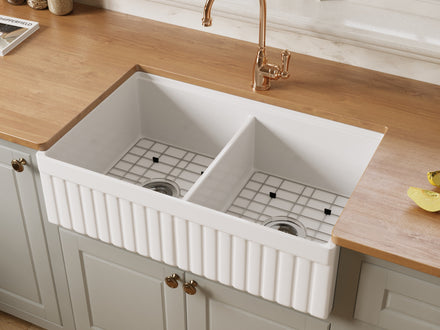
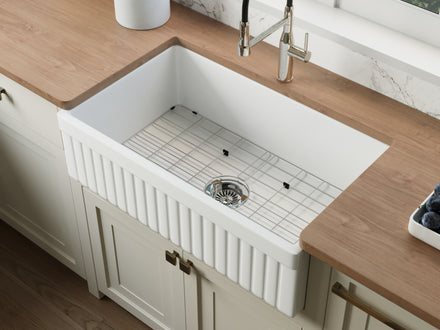
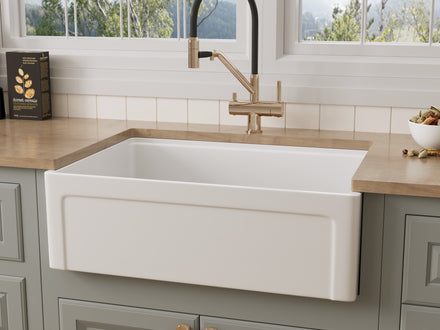
| Apron-front farmhouse | Side and rear rim-to-counter joint; reveal depends on the installation | Inspect the independent cabinet support if the seam repeatedly opens |
| Drop-in | Perimeter beneath the top rim | Do not smear a new surface bead over a loose or leaking rim |
| Flush mount | Narrow exposed joint level with the counter | Joint width and finish depend on the fabricated opening |
For a full mount comparison, see undermount vs drop-in sinks. If the whole basin must come out, recaulking is no longer the project; use our farmhouse sink replacement guide.
Special Check for a Heavy Fireclay Farmhouse Sink
A fireclay apron-front basin should rest on a cabinet-tied platform or frame sized for the sink and attached equipment. The countertop and silicone joint should not carry that weight. Our fireclay farmhouse sink installation guide explains the complete support handoff.
The NOZLOO NZ-103W3320 is a useful example: 33″ × 20″ × 10″ overall, 31″ × 17¾″ inside, about 105 lb, and a 36-inch minimum cabinet. Its 9-inch interior depth is measured vertically from the rim to the lowest point at the centered 3.5-inch drain—not at a side wall. Those dimensions are not recaulking instructions; they explain why a changing seam deserves a support check.

When Recaulking Is Not Enough
Call the appropriate installer, fabricator, or plumber when the sink moves; stone is cracked; wood or laminate is swollen; the cabinet stays wet; the bead fails again quickly; or water appears from the drain or supply lines. A new bead can hide a symptom while moisture continues below.
There is no universal “recaulk every year” rule. Inspect the seam during routine cleaning and replace it when it separates, loses adhesion, or cannot be cleaned and dried safely. A sound bead that remains flexible and attached does not need removal just because a calendar changed.
Frequently Asked Questions
Can I put new caulk over old kitchen sink caulk?
No. Remove the failed bead and residue, then clean and dry the joint. New silicone bonded to contaminated or loose material is likely to fail again.
How long must kitchen sink caulk dry?
Use the full water-exposure or cure time on the exact product label. Temperature, humidity, bead size, and substrate can change the timing; a surface that feels dry may not be fully cured.
Should I use clear or white silicone around a kitchen sink?
Color is mainly a design choice after compatibility is confirmed. Clear can reveal an uneven or stained joint; white can create a more defined line. Neither color fixes poor adhesion or movement.
Why does the caulk around my farmhouse sink keep cracking?
Possible causes include incomplete old-caulk removal, a wet or contaminated surface, incompatible sealant, an oversized joint, or sink movement. If the gap changes, inspect the independent support before sealing again.
Is caulk holding up an undermount or fireclay sink?
It should not be. A proper mounting or support system carries the sink and its loads. The perimeter seal limits water entry and accommodates small joint movement within its rating.
The Bottom Line
Recaulking is a seal-maintenance job, not a structural repair. Diagnose the water source, remove the complete failed bead, protect both finishes, and follow the selected sealant's label. If a heavy sink moves or the substrate is damaged, fix that condition before closing the seam.